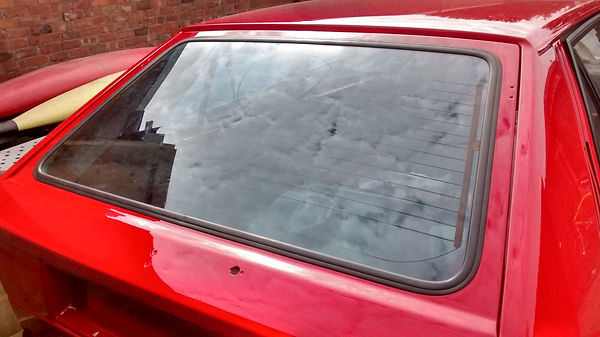
Windows
It's sometimes useful to remove a Delta's windows, to carry out rust repairs. or rectify paintwork.
Because a Delta's glass isn't bonded in, removal and replacement can be done at home. Here's how.

Tip, when removing the interior light binnacle, take the interior light out first.
There are 2 small screws behind it that fix the binnacle to the car, these are easy to miss.

To remove the front screen, undo the interior mirror and remove it, also remove the top binnacle, sun visors and the A pillar plastic trim. This reveals the screen rubber.
Remove the wipers and arms.
From inside the car use a flat screwdriver and start to ease the sides and top of the screen rubber away from the car's frame. Then go around again, don't worry about the bottom, you can't reach it anyway. If you're happy to proceed, as you lever the screen rubber inwards, gently push the screen outwards.It might take several tries to free the screen, but there's no rush, so be gentle, it will come free.
When the top and sides of the screen are free, go outside the car and pull the top of the screen and rubber gently forwards, then lift the screen off the bottom flange.
Carefully store the screen and rubber away from the car until required.


Clean the glass, mind the heating element

Fit the rubber
Right, you've done the job on the bodywork, now let's put the glass back. We'll show the tailgate glass this time.
Give the glass a good clean around the edges, then clean the rubber. There'll be dirt in the rubber, this needs to come out for a good seal.
Obtain some good cord, string will do, but a good woven cord is strong and smooth.
Find a good flat and soft location, lay the screen down and put the rubber around the edge of the glass, it'll be a tight fit on the last corner. When the rubber is fitted around the screen run your cord around the rubber, letting it into the groove where the body frame rail will go, finishing with the 2 ends at the bottom. Spray some lubricant onto the rubber, I believe Swarfega or washing up liquid as lubricants have salt in them, so use a nice light oil.
Lift the window, rubber and cord and carefully locate onto the bottom rail of the window opening, settle the rubber onto the bottom rail, with the cord ends hanging inside the car. Firmly but fairly push the window down onto the bottom rail, and make sure the rubber is located properly, centre the window in the frame, it'll slide with the lubricant.


Insert the cord
Lubricate the rubber
Making sure the bottom of the seal is located properly
Push the window down to locate the bottom
Start pulling the cord
Push the rubber down with the heel of your hand

Lift the tailgate up if you like, and prop it with the broomstick. Then keep pulling the cord until near the top middle, you'll see the cord pulling the rubber seal over the frame.
Change sides, start at the bottom and finish at top centre again. Pull the cord out and gently press the outer rubber into place, the window will pop home.
A little more care is required with the tailgate than the front screen, because it isn't fixed in place, so you need a length of wood or a broom handle to hold the tailgate half open. With the door propped up, and the bottom screen rubber in place start to pull the cord, You'll see it lifting the rubber over the frame rail, as you're pulling reach outside and follow yourself around, gently pushing the outside rubber down into place. You can go as slowly as you want, keep pulling the cord and pushing the rubber down.
Push on the rubber, not the window, the glass is under some tension here, so be gentle. Finish one side when you get to the top, then go to the other side and pull from the bottom again. When you meet at the top, pop the rubber in, and the screen will be fitted.
If there are any high spots, check the inner rubber lip has completely flipped over the rail, if not, ease it over with a screwdriver. Gently but firmly press the rubber in, don't press the glass, it'll settle in when the rubber is right. The glass in quite thin!
.
So here's the finished job, clean rubber neatly in place.
Now any prospective purchaser can lift up the rubber and see a lovely factory finish underneath.
With a little care and gentleness this is a diy job.
Next it'll be the door windows.
